Homemade Probiotic Soda
Learn to make homemade probiotic soda with water kefir, kombucha, or ginger bug. Naturally fermented, gut-friendly fizzy drinks packed with probiotics.
 By
By
Transform your beverage routine with homemade probiotic sodas—naturally fermented drinks that deliver refreshing fizz alongside powerful gut-health benefits. Unlike commercial sodas laden with artificial ingredients and excessive sugar, these homemade versions use beneficial bacteria from water kefir, kombucha, or ginger bug to create natural carbonation while supporting your digestive system.
The magic happens through second fermentation, where you combine your probiotic base with fresh fruits, herbs, and natural sweeteners. The result is a customizable, effervescent drink that's lower in sugar, free from artificial additives, and brimming with live probiotics that promote digestive wellness and immune function.
Instructions
-
Prepare the base
Strain your fermented base through a fine-mesh sieve into a measuring cup to remove any solids or SCOBY pieces. Measure exactly 3 cups of the clear liquid.
-
Pour the 3 cups strained base into a large glass mixing bowl. Add 1/4 cup fresh fruit juice and 1 tablespoon honey.
-
Stir the mixture vigorously with a wooden spoon for 30 seconds until the honey completely dissolves and no streaks remain.
-
Bottle for second fermentation
Place a funnel in clean glass bottles and pour the flavored mixture through, leaving exactly 2 inches of headspace at the top of each bottle.
-
Cap bottles tightly with swing-top or screw-on lids, ensuring a complete seal.
-
Place bottles in a dark cupboard or pantry at room temperature between 70-75°F (21-24°C) for 24 hours.
-
Check carbonation by gently pressing the sides of each bottle - they should feel firm and resist pressure when properly carbonated.
-
Open each bottle briefly to release excess gas with a quick hiss, then immediately reseal tightly. Repeat this process every 12 hours during fermentation to prevent over-pressurization.
-
Taste the soda after 48 hours by opening one bottle completely - it should have a pleasant fizz and balanced sweet-tart flavor.
-
Continue fermenting up to 72 total hours if you prefer stronger carbonation and more developed flavors, checking and releasing gas every 12 hours.
-
Finish and store
Transfer all bottles to the refrigerator once desired carbonation is achieved to slow fermentation.
-
Chill for at least 2 hours before serving to enhance flavor clarity and ensure optimal carbonation.
Tips
Use filtered or spring water to avoid chlorine, which can inhibit beneficial bacteria and affect fermentation quality.
Start with shorter fermentation times (24 hours) for milder flavors and less carbonation, gradually increasing as you develop preferences.
Burp bottles daily during fermentation by briefly opening to release excess gas and prevent dangerous pressure buildup.
Taste-test your base before flavoring to ensure proper fermentation—it should be slightly tart and mildly effervescent.
Reserve 10% of your finished soda as starter for the next batch to maintain consistent probiotic cultures.
Store bottles upright in a consistent temperature environment (68-78°F) for optimal fermentation conditions.
Strain out fruit pieces before bottling to prevent over-fermentation and maintain clean flavors during storage.
Keep detailed notes on ingredients, timing, and results to replicate successful batches and refine your techniques.
The Science Behind Probiotic Sodas
Probiotic sodas harness the power of beneficial bacteria and yeasts to create natural carbonation through fermentation. During this process, microorganisms consume sugars and produce carbon dioxide, creating the signature fizz while generating probiotics, enzymes, and B vitamins. This fermentation method has been used for millennia, making probiotic sodas both ancient wisdom and modern wellness trend rolled into one refreshing package.
The probiotics in these drinks—including Lactobacillus and Saccharomyces species—help maintain healthy gut flora, support digestion, and may boost immune function. Unlike pasteurized commercial sodas, homemade versions retain live cultures that provide ongoing health benefits with every sip.
Choosing Your Probiotic Base
Three main options serve as the foundation for probiotic sodas, each offering unique flavors and benefits:
Water Kefir produces a light, mildly sweet base with a clean flavor profile that pairs well with citrus and tropical fruits. The kefir grains ferment sugar water into a probiotic-rich liquid in just 24-48 hours.
Kombucha offers a slightly tart, complex flavor with subtle tea notes. First fermentation takes 7-14 days, but the robust flavor makes an excellent backdrop for berry, ginger, and herbal additions.
Ginger Bug creates a spicy, warming base perfect for traditional ginger beer flavors. This wild-fermented starter takes 5-7 days to develop but produces intensely flavorful sodas with natural ginger bite.
Flavor Combinations That Work
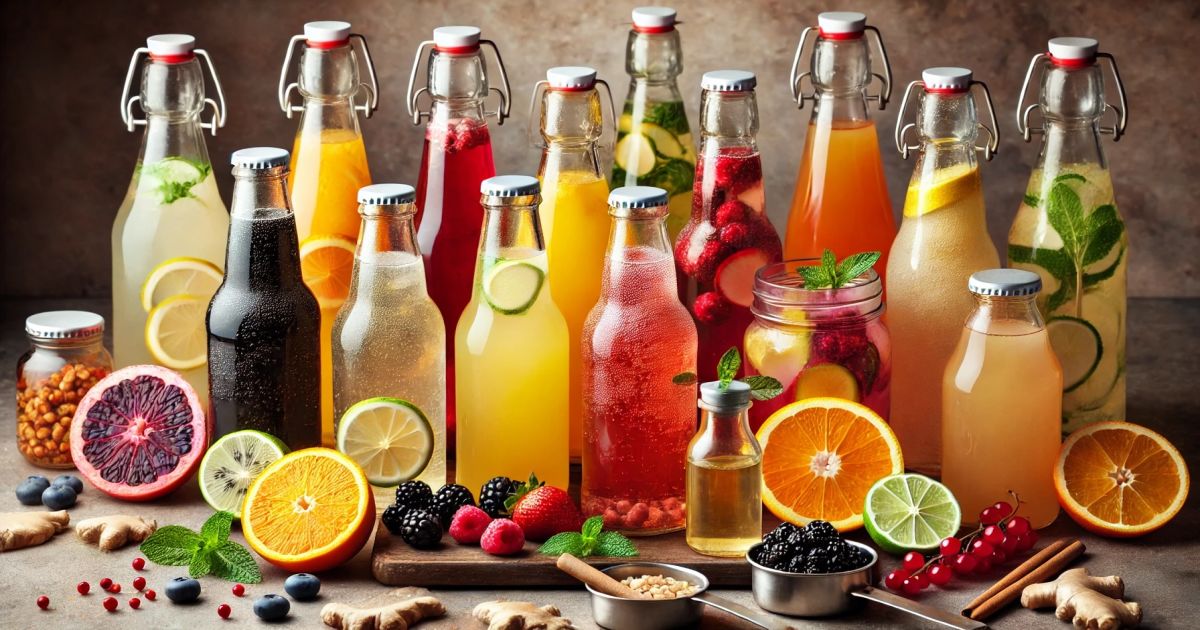
The beauty of homemade probiotic sodas lies in endless customization possibilities. Fresh fruit juices provide natural sugars for continued fermentation while adding vibrant flavors. Try raspberry-lime, pineapple-jalapeño, or classic ginger-lemon combinations.
Herbs add sophisticated notes—mint creates cooling refreshment, basil offers peppery complexity, and lavender brings floral elegance. Spices like cinnamon, cardamom, and cloves work beautifully with apple or pear bases, while citrus zest brightens any combination.
For natural sweetening, raw honey feeds the fermentation while adding subtle floral notes. Maple syrup pairs wonderfully with autumn flavors, while fresh fruit provides both sweetness and complex flavors.
Fermentation Safety and Troubleshooting
Successful probiotic soda making requires attention to cleanliness and fermentation signs. Always use clean, sterilized equipment and high-quality ingredients. Fermentation should produce pleasant, yeasty aromas—any off-putting smells indicate contamination.
Monitor carbonation levels by gently pressing bottle sides daily. Over-fermentation can create excessive pressure, so "burp" bottles regularly by briefly opening to release gas. Store finished sodas refrigerated to slow fermentation and maintain optimal flavor.
Storage and Shelf Life
Properly fermented probiotic sodas keep refrigerated for 1-2 weeks, though flavors continue evolving. Peak carbonation typically occurs within 3-5 days of bottling. For longer storage, freeze in ice cube trays for probiotic ice cubes or use in smoothies.
Glass bottles with tight-sealing caps work best for fermentation and storage. Avoid metal caps with acidic flavors, as they may corrode. Swing-top bottles provide excellent seals and easy opening for daily burping.
Health Benefits Beyond Probiotics
Beyond gut health, probiotic sodas offer hydration without artificial additives, natural B vitamins from fermentation, and antioxidants from fruit additions. The lower sugar content compared to commercial sodas makes them a smart choice for reducing overall sugar intake while satisfying soda cravings.
Regular consumption may support digestive comfort, immune function, and overall wellness. However, introduce probiotic foods gradually to allow your gut microbiome to adjust, especially if you're new to fermented foods.